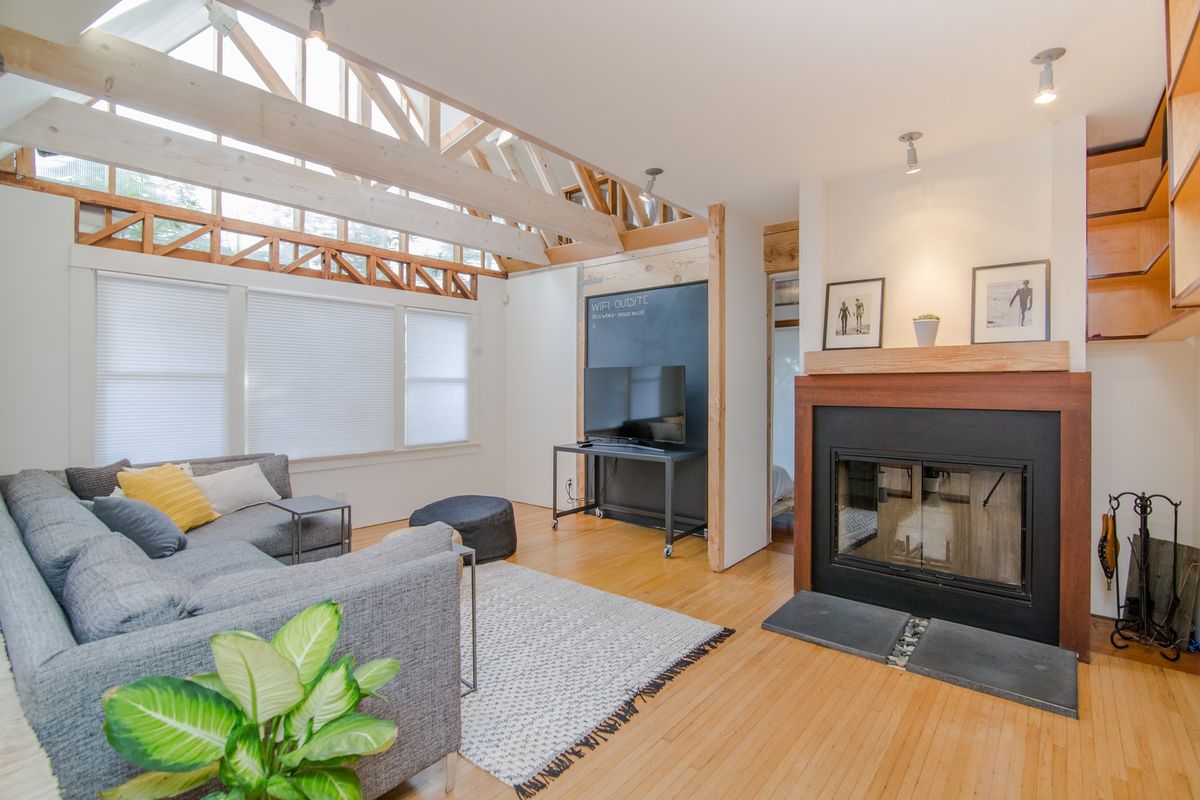
Built in shelves are great options to make use of empty space between wall brackets. Any home typically have these spaces, usually on the wall just by the door.
A DIY built in shelves project can be the perfect pastime for the creative carpenter. It does not take much time either.
Even if you are a novice and working only on weekends, the shelves should be ready by a month.
Space location and checking
It is a very basic structure. You would need the usual instruments such as wireless drill, a circular saw, a nail gun, industrial adhesive, etc. Measure the available space on the wall right up to the roof of the wall bracket. Prepare board cleats for the top, the sides, and the base. You must have located the drywall brackets where to set up the shelves. However, before proceeding with the project, cut a small hole at the base of the wall.
Use a mirror and torchlight to find if there are wires, pipes, cables, or any other obstructions in it. When you are sure of the right place, proceed with the construction. You should definitely check out the many inspiring ideas that folks have put up from their own DIY projects. Check out the general instructions here in setting up the built in shelves.
The method
Making a built in shelf has two main aspects, the cabinet and the shelves. Start with the cabinet. Once you have accurately cut the side planks according to the measured breadth of the wall at the top and sides, fix them together. You know the drill. Set up the holes, use the adhesive, fix the nails in place, and get the frame done. Once you have done this, attach further planks, of at least half the width of the side and top cleats, perpendicularly with the frame.
This additional space extending from the wall cabinet properly frames it externally and offers a neat space for extending the shelves slightly off the wall. Set up the perpendicular boards on all four sides. Next, you may want to add a plywood sheet at the back to the shelf. This is optional because even when you keep it open at the back, the wall still provides the back support. Many homeowners decide to attach the plywood sheet directly to the wall and fix the cabinet on it. Alternatively, you can fix the plywood on the cabinet and put up the entire structure on the wall space.
The plywood sheeting at the back is a good idea to avoid the damp and peeling plaster of the wall to affect the shelf. Also, it is best to attach the sheet to the cabinet rather than fixing on to the wall. This allows you to take out the full shelf when you are relocating from the house. Keep all possibilities open when you are planning something of an addition to the wall like this. Meanwhile, you must have made the shelves ready. After you mount the cabinet, set the shelves in place with proper attachment. If you can, consider setting up a single/double glass door to the built in shelf.


