Photo by cletch
Gathering things
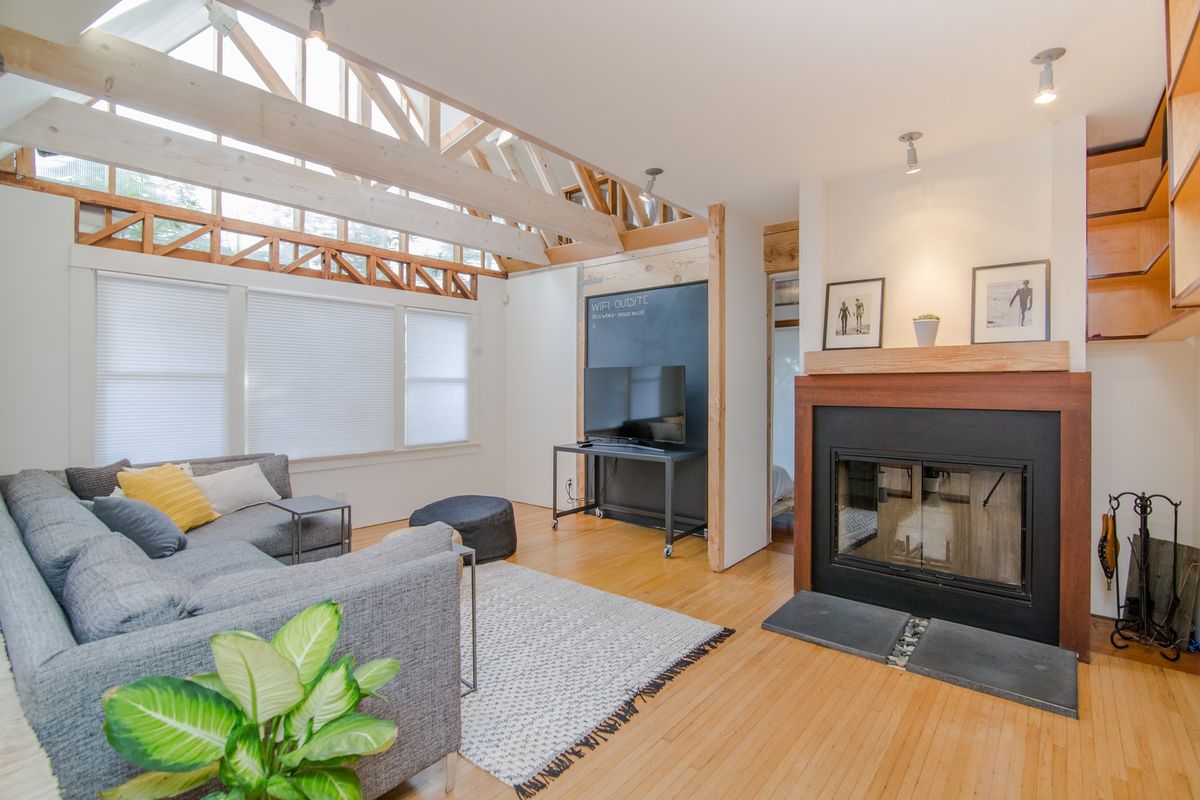
The log cabin is your perfect home in the woods. Although it may seem overwhelmingly difficult to get all those logs into place, yet it is a perfectly doable task for the inspired builder. In fact, you would not need to spend a hefty amount as well as long as you are not buying the wood logs.
Actually, it is more DIY to gather the logs from the forest instead of buying them from a lumberyard. In fact, gathering, hauling, and preparing the logs is the only aspect of building the cabin. Once you have them ready, the rest is easy because you just have to assemble them according to the plan.
Choose the spot
Choose the spot where your cabin should be standing. The ground should be level and there has to be a running source of spring water nearby. If there are bushes and undergrowths, clear them before you start setting up the cabin.
Foraging the wood
This is the toughest part and it is going to take time in collecting the pieces together. Camp out in the wilds while you haul the wood from all over the forest. It is definitely going to be a back breaking task, but your work would be easier to haul the woods on a wheelbarrow. Use a crosscut saw to fell marked wood and remove the limbs. Make each log surface smooth by stripping off the bark from the wood. One quick tip to remember here is to remove the barks as early as possible after you have hauled the log to place. If you delay, the dead bark dies and sticks strongly with the log that can be difficult to remove.
Making the floor
Collect logs of different sizes. The bottom layer of each cabin has to be made with the strongest logs. Set up vertical log pillars at the ends as per your blueprint. Put in the base logs around the structure once the pillars have been established. When the base has been set, proceed to make a fine floor for your cabin. The floor is set by hauling joists and planks in place by stable joints. You can obtain the planks for the floor from salvaged lumber. Set the joists into notches carved by the wall line. This would make it easy to set up the walls.
Setting up the walls
Now, you have a structure ready with the floor. Next, set up the log walls. Label the logs in order according to their sizes. Obviously, the heaviest ones should be at the base. You would also have to notch the logs together to set them in before you hit the nails to make them permanent. You can use dovetail notches and Lincoln log notches, but these tend to collect rainwater, which ultimately leads to rotting the wood if you live in a rainy region. Setting up one sided saddle notches should be sufficient. Of course, you will have to leave space for the doors and windows.
Finally, the roof
Finally, you set up the roof. Cut the log pieces into appropriate plank sizes before you fit them together with galvanized nails. Remember to keep a small space open on the roof for the stovepipe.