 Photo by kimhaseightcats
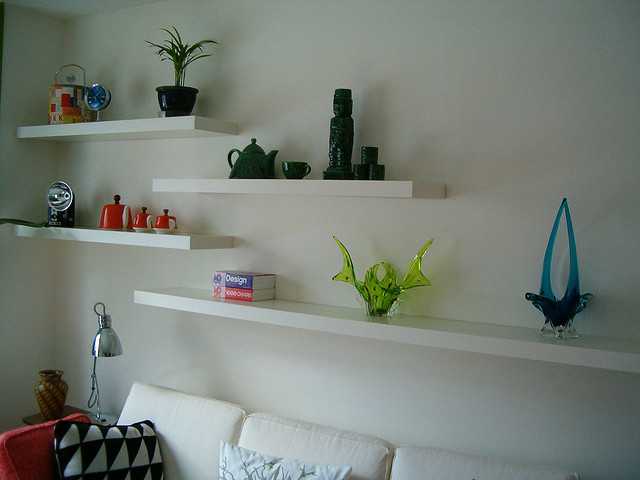
A floating shelf is a fantastic minimalistic piece of furniture. It is just a no-nonsense box attached in such a way to the wall that it seems to be floating there! It is a quite vintage interior decorating trend, and was very popular in the 50s. These days, they have made a steady comeback.
Also, it is probably the easiest DIY project anyone can undertake! Look up the following sections for DIY instructions. About the depth, keep it in balance so that the base can sustain the weight of the edge frame. Typically, it is recommended to keep the depth at no more than 9 inches.
Touch wood
Salvaged wood is the perfect material for this project. You can use wood from a discarded door frame and such. Recycling wood makes this essentially a zero cost project. However, if you prefer, you can always buy the planks or use medium density plywood.
Plywood can be varnished with a wood paint in the finish but for the original texture, salvaged wood is the best option any day, touch wood! You don’t need elaborate tools either. A circular saw and an edge guide should be sufficient. Experienced carpenters recommend new folks using a table saw for a clean cut. Other things you need are a wrench, a hammer, a chisel, a stud finder, a level, 3 ½ inch lag screws, carpenter’s glue, and 1 inch brads.
Making the shelf
Step1
Start with demarcating the shelf position on the wall. The stud finder is used to mark stud locations. Mark the locations with tape pieces. Use a 4 ft level as your guide for this job. Mark the wall with a pencil. Cut two identical panels of wood for each shelf. You will next have to cut two long strips of wood 1x 2 inches.
Step2
Take one of these strips and cut it into three pieces. One piece should be of the same length of the panel and the length of the other two should be same as the width of the panel. They will form the outer edge support of the shelf. Cut each end of the long piece and one end of the short pieces into 45 degree angles. This will ensure the mount looks nice, perpendicular to each other at the corners. Paste the pieces at the edges of one of the panels.
Step3
These pieces would be set between the panels for creating the hollow of the shelf. The other strip would not be cut as it is to be used as the shelf mount. The inter-panel pieces would be set narrow side down in the internal framework, adding two extra inches of height to the shelf. Once you have the height, run a layer of carpenter’s glue on the top of the edge and paste the other panel over it. Finish the fixture by using a nail gun in equal spacing. If you want a painted and varnished shelf, this is the time for it. Apply a nice veneer coating of your choice.
Mounting the shelf
Prepare the mounting structure by cutting a strip of the same width and length of the enclosed hollow space. This will be the structure holding the shelf to the wall. Next, cut two side strips of the side length, but keep the length of the strip one inch less than the shelf side. Otherwise, they would be jutting out when you fit them with the wall mount. Attach the mounting pieces to make a big C with sharp edges. Attach it to the wall studs and mount the shelf. The shelf should fit smoothly if all the measurements are perfect. Use glue to make it permanent.